The shutter on my $40 second-hand Canon clicked. The man selling grilled corn on the bank of the Ganges looked up, smiled, and asked to see the screen. That photo is terrible. Blurry, badly framed, his head half cut off. But he laughed and pointed at himself and said something to his friend, and I learned more about photography in that thirty seconds than in a year of watching tutorials. Gear doesn’t make the shot. Being there does. And being there is cheap. That’s the whole thesis of this post, so if you’re here for lens recommendations and sensor debates, you’ll be disappointed. If you’re here because you’ve got a camera, a passport, and about $200 to spare, keep reading.
Sarajevo, 2017. I was sitting on the steps of the old Orthodox church, eating a burek that cost 1.50 marks and dripping grease on my only jacket. An old woman in a headscarf walked past, stopped, and gestured at the camera around my neck. She pointed at the church, then at me. Nervous, I lifted the camera. She nodded. I took one frame. She walked on. I didn’t look at it for six months. When I finally did, it was the best photo I took that entire trip. No zoom, no composition, just a moment I almost didn’t have the nerve to ask for.
Why This Matters
Travel photography isn’t a vanity project. It’s a memory system. I’ve forgotten the name of a hostel in northern Laos, but I have a photo of the woman who ran it, and I remember she had a laugh like a door slamming and fed me sticky rice every morning for free. The photo triggers everything else. That’s the real value. Your brain is a leaky bucket. Your hard drive isn’t.
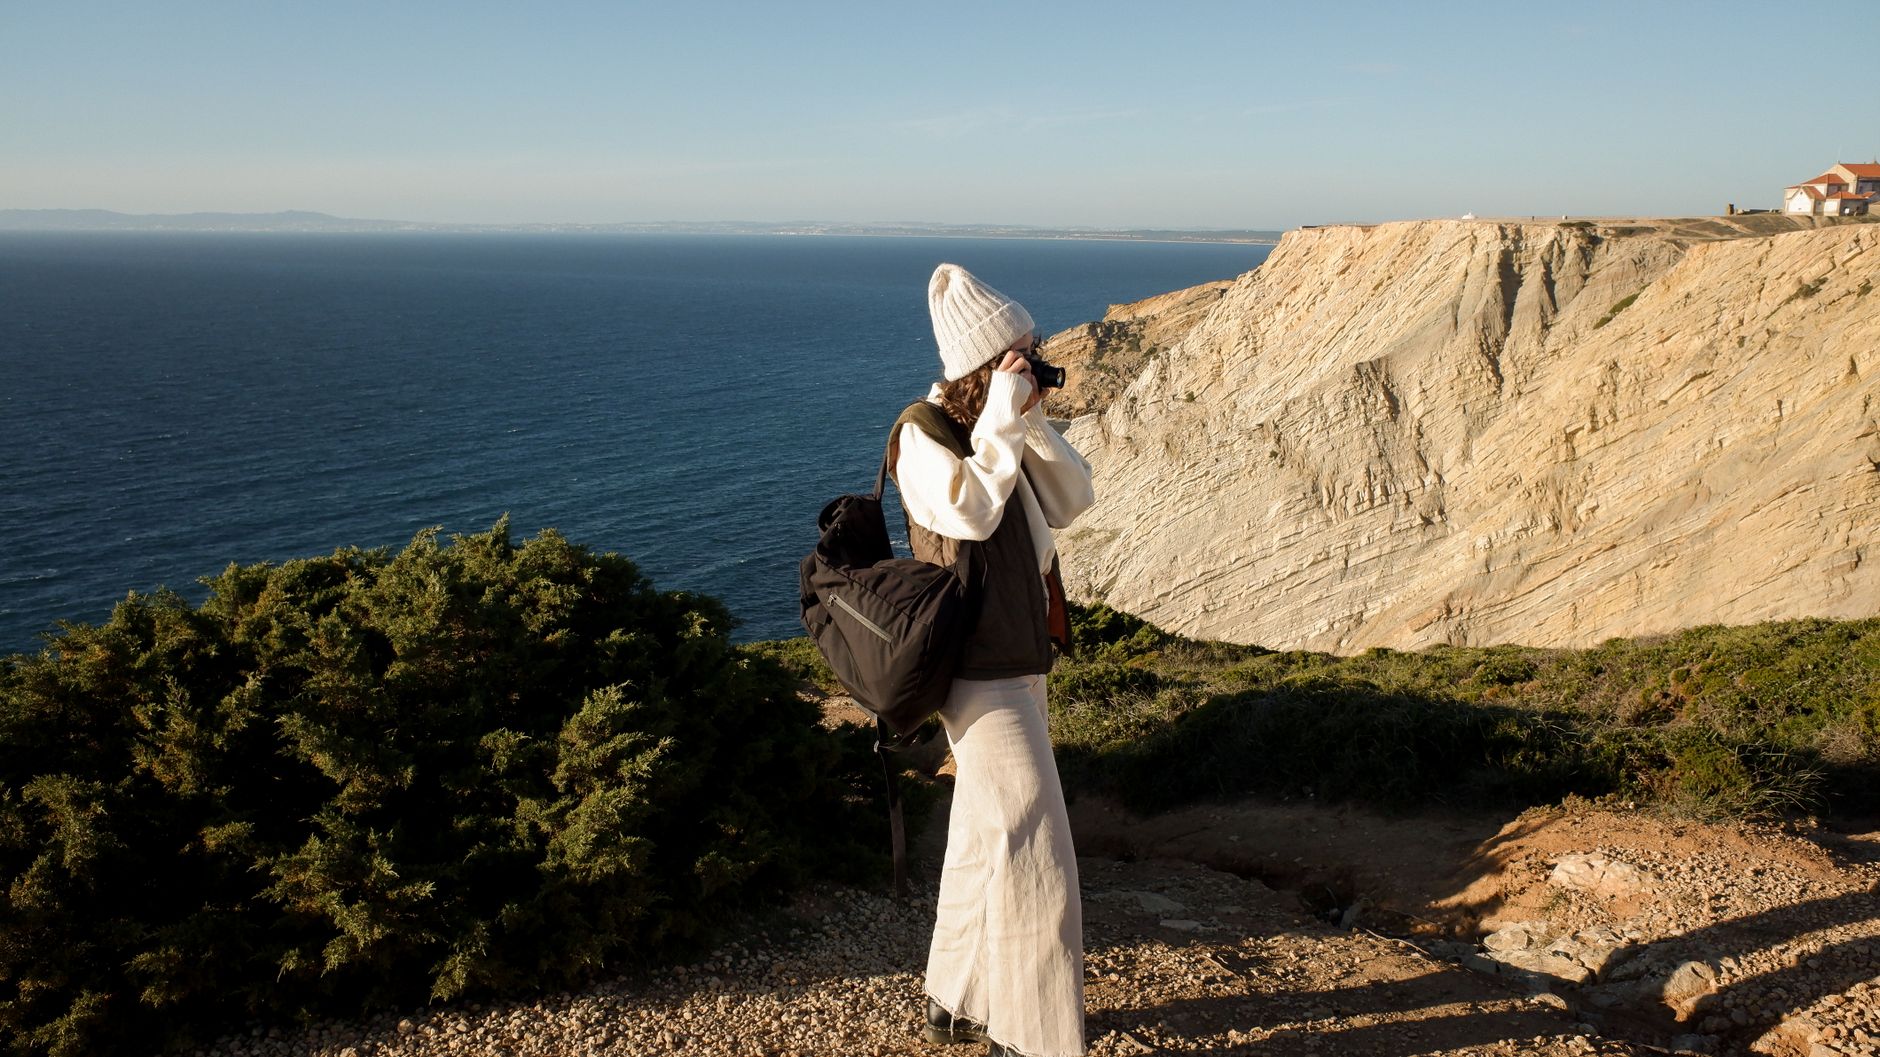
Here’s the counter-intuitive bit: spending money on photography gear is usually the worst investment a beginner can make. I’ve met travellers carrying $3,000 of glass who take the same photo of the same sunset as everyone else on the same beach. Meanwhile, the best travel photos I’ve seen in fifteen years were shot on phones by people who understood light, timing, and how to talk to strangers. A mediocre lens in the right place beats a perfect lens in the wrong one, every time.
What you actually need is patience, a willingness to look foolish, and maybe 30 minutes a day of deliberate practice. The gear is a rounding error. That’s what makes this cheap. That’s what makes it worth your time.
Top 5 Tips
1. Learn three settings and ignore the rest. For the first year, shoot in aperture priority mode. Set your aperture wide open (low number, like f/2.8 or f/4) for people and close it down (f/8 or f/11) for landscapes. Leave ISO on auto and let the camera figure out the shutter. That’s it. That’s the whole course. I spent my first year fiddling with manual mode and missing shots while the light changed. Don’t do that. One mode, one dial, learn what it does. You can add complexity in year two.
2. Ask before you shoot people. Then show them the photo. In most of the world, a smile and a gesture at your camera works better than any language. “Photo?” with a questioning look. If they say no, you say thank you and you move on. If they say yes, take the shot, then turn the screen around. Nine times out of ten you’ll get a bigger smile than the one you photographed. This is also how you get invited to tea, which is how you get the photos nobody else on your tour bus is getting. The photo is the excuse. The interaction is the point.
3. Shoot the in-between moments, not the landmarks. Everyone has a photo of the Eiffel Tower. Almost nobody has a photo of the guy sweeping the street below it at 6am. Wake up early. Two hours before the tour buses. This is when cities look like themselves instead of a postcard. The light is better, the people are real, and you’ll actually have something to show for your trip. I’ve built entire portfolios out of “boring” streets in cities where I never photographed a single famous building.
4. Back up your photos in two places on the road, not one. I lost 4,000 photos in 2016 because I kept everything on one SD card and the card corrupted in a bus station in Peru. Four thousand. Gone. Now I carry two cheap 64GB USB drives (about $12 each) and every night I copy the day’s photos to both. One goes in my daypack, one in my main bag. If my bag gets stolen, I still have half. If both get stolen, I have bigger problems. The backup takes ten minutes and it’s the single most important habit I have.
5. Edit on your phone, not your laptop, if you’re on a budget. Free apps like Snapseed or Lightroom Mobile do 95% of what a $10/month desktop subscription does, and you already have the phone. Bump the shadows, drop the highlights, add a touch of contrast, straighten the horizon. That’s it. No filters. No heavy presets. The goal is to make the photo look like what you saw, not like a 2012 Instagram feed. Ten minutes of editing per day, max. If you’re spending more time editing than shooting, something’s gone wrong.
Budget Breakdown
Here’s what this actually costs, in US dollars, based on what I’ve spent and what I’ve watched other travellers spend over the years. All prices are what I paid or what I’ve seen on the ground. Your mileage will vary by country.
- Camera: $0 if you use your phone. $40-$120 for a used compact or an older DSLR from a pawn shop or Facebook Marketplace. My first travel camera was a Canon PowerShot I bought for $55 in 2015. I shot with it for three years.
- SD cards: $10-$15 each for a 64GB card. Buy two. Never one.
- Backup drives: $12-$20 for two cheap 64GB USB drives. Non-negotiable.
- Editing apps: $0 for Snapseed. $0 for Lightroom Mobile’s free tier. $5/month if you want the premium version, which you don’t need yet.
- Camera bag: $0. Use a sock. Wrap the camera in a t-shirt inside your daypack. I’ve done this for years and never broken anything. Actual camera bags scream “steal me” in most of the world.
- Total startup cost: $25-$150 depending on whether you already have a phone. That’s the whole budget. That’s it.
Compare that to a “starter kit” at a camera shop, which will happily sell you $800 of gear you don’t need. Skip it. Spend the $800 on a plane ticket instead. The ticket will teach you more.
One Mistake to Avoid
The worst mistake I made as a beginner wasn’t technical. It was social. In 2018, in Marrakech, I photographed a man working at a spice stall from across the alley without asking. He saw me. He came over. He was furious, and rightly so. He demanded I delete the photo, and I did, hands shaking. I apologized, badly, in terrible French. He walked away. I felt like a thief because I had been one, briefly.
Here’s what I learned: the photo you steal is never as good as the photo you’re given. And the cost of stealing it isn’t just a bad photo. It’s a bad interaction that sours your whole day and, honestly, a small piece of your soul. The rule is simple. Ask. If they say no, thank them and walk on. If they say yes, take the shot and show them. If they ask for money, decide whether it’s worth it to you, and pay it or don’t, but don’t sneak. Sneaking is the thing that makes travellers hated and photographers distrusted.
I’ve asked hundreds of people for photos since then. The refusals are maybe one in twenty. The yeses have given me the best images I own, and more importantly, some of the best afternoons. The camera is a key. Use it to open doors, not to pick locks.
So here’s what I’d tell you, standing in a bus station with a backpack and a $55 camera and no idea what you’re doing: go. Take the bad photos. Delete most of them. Keep the three that surprise you six months later. Ask the corn seller if you can take his picture, then show him the screen and watch his face. Back up your card tonight. Wake up early tomorrow. The light is best before the world gets loud, and the world is always loud, so you’ll have to be quicker than it. You don’t need better gear. You need to be there, with the camera on, and your eyes open. That’s the whole secret. Now go book the ticket.